
How to Clean Nubuck Leather Shoes: A Step-by-Step Guide
M
Muhammad Imran
•I hope you enjoy this post. My team and I can help showcase your expertise like this. Let's talk.
Cleaning nubuck isn't just about hygiene; it is about preservation. This guide covers the essential tools, daily maintenance, and deep cleaning protocols required to maintain the unique velvet texture of nubuck leather.
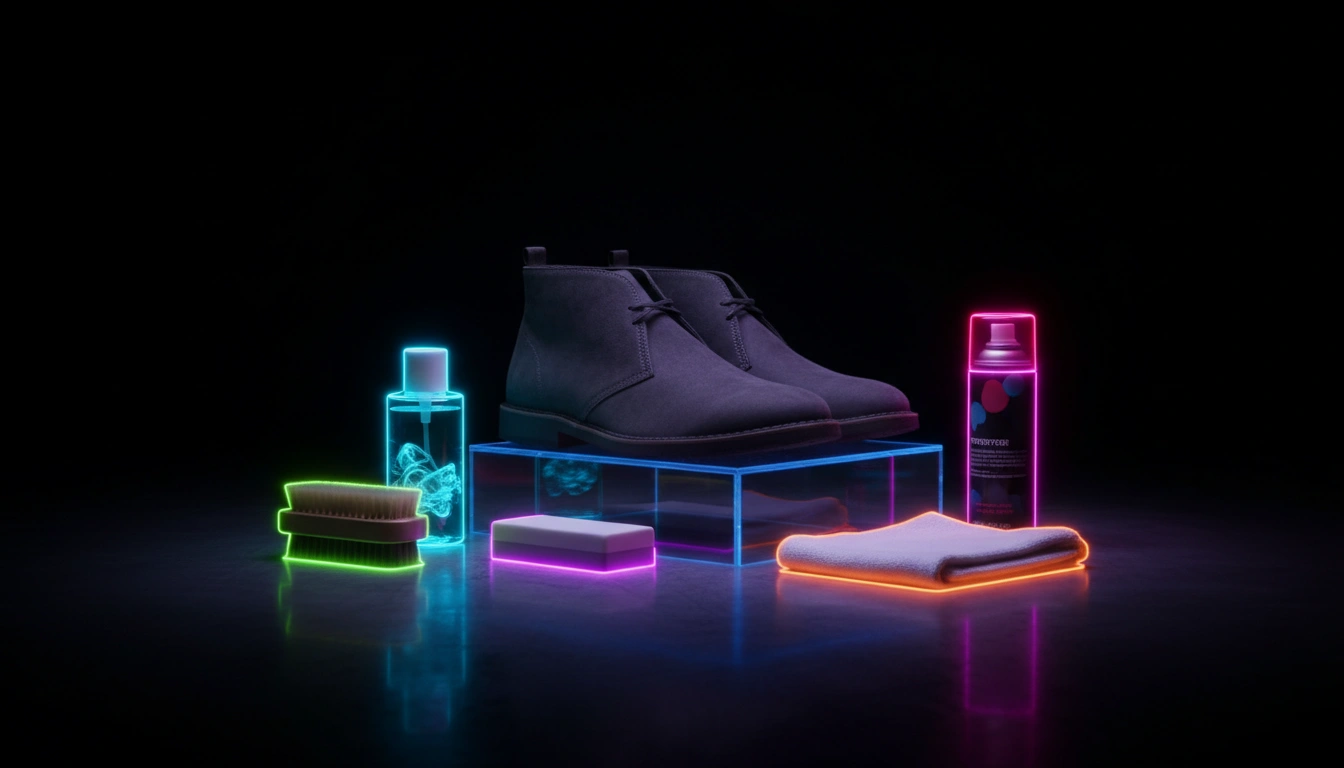
The Unvarnished Truth About Cleaning Nubuck <p>Nubuck is not for the faint of heart. It is a material that demands respect, understanding, and a certain degree of obsession. Unlike the sealed, corrected grains that dominate the fast-fashion footwear market, nubuck is raw, exposed, and unapologetically high-maintenance. It is top-grain cattle leather that has been sanded or buffed on the grain side to give a slight nap of short protein fibers, producing a velvet-like surface. This process grants it a rugged elegance, but it also opens the pores, making it significantly more susceptible to staining than standard leathers.</p> <p>If you have invested in a pair of high-quality boots or loafers, you need to understand the structural integrity of what you are wearing. Cleaning nubuck isn't just about hygiene; it is about preservation. Before we touch a brush to the hide, you must understand the material's fundamental properties. For a comprehensive deep dive, I strongly suggest you study <a href="https://imranpartners.com/posts/the-ultimate-master-guide-to-nubuck-leather-characteristics-care-and-comparisons">the ultimate master guide to nubuck leather</a>.</p> The Essential Toolkit: Brushes, Erasers, and Sprays <h3>The Right Tools</h3><p>You cannot clean nubuck with a rag and dish soap. The toolkit is specific. First, the <strong>nubuck brush</strong>. You need a stiff bristle brush (nylon) to remove surface debris and a <strong>crepe brush</strong> (natural rubber) to grip dust and lift the nap. A brass-bristle brush can be used for heavy restoration, but with extreme care.</p> <h3>Erasers and Chemicals</h3><p>Second, a <strong>rubber eraser</strong> or nubuck cleaning block works by friction to lift localized stains. Finally, you need chemical agents: a dedicated <strong>foaming cleanser</strong> (pH-balanced for nubuck) and a high-quality <strong>waterproofing spray</strong>. Standard leather cleaners or wax conditioners will ruin the nap. Using the wrong tool is one of the <a href="https://imranpartners.com/posts/5-common-mistakes-that-ruin-nubuck-leather">most common mistakes that destroy nubuck</a>.</p> Daily Maintenance: The Brushing Ritual <p>The longevity of nubuck is dictated by frequent intervention. Waiting until the shoe looks dirty is a failure. Dust is abrasive and acts like microscopic sandpaper, cutting the fibers at the base as your shoe flexes. This leads to premature bald spots.</p> <p>To prevent this, use your <strong>crepe brush</strong> after every significant wear. Brush in multiple directions. Circular motions loosen debris, but finish with long, unidirectional strokes to align the nap. This daily ritual keeps the fibers open and prevents dirt from hardening the leather. This differs from suede, which is the looser flesh-side of the hide. For more details, see our <a href="https://imranpartners.com/posts/nubuck-vs-suede-the-definitive-comparison-guide">nubuck vs. suede comparison</a>.</p> Removing Dry Dirt and Superficial Scuffs <p>When you encounter visible dry dirt, do not introduce water. Water will carry the dirt deeper into the pores. Dry cleaning is always the first line of defense. Start with a stiff bristle brush to knock off heavy crust. Be vigorous but controlled.</p><p>If scuffs remain, they are likely compression marks. Use the <strong>rubber eraser</strong>. Rub back and forth over the scuff; the eraser crumbs will absorb the dirt. The area may look lighter temporarily, which is normal. Brush away crumbs with the crepe brush to blend the texture.</p> <p>For deeper scuffs that have actually cut the surface, the approach changes. You may need to manipulate the surrounding fibers to cover the damage. For a detailed protocol on damage control, refer to the techniques for <a href="https://imranpartners.com/posts/fixing-scratches-and-scuffs-on-nubuck-boots">fixing scratches and scuffs on nubuck boots</a>. The goal is always to lift the nap to camouflage the abrasion.</p> Tackling Liquid Stains and Water Spots <p>Liquid is the nemesis of nubuck. Because the grain is sanded, the leather is hydrophilic—it loves to drink water. If you spill water, blot immediately, do not rub. If a water spot has dried, the solution is often to wet the entire panel seam-to-seam to allow for uniform drying.</p> <p>Oil and grease are far more insidious. A grease drip will soak in instantly. Water will not remove it. You need an absorbent powder like cornstarch immediately. Pile it on the spot and let it sit for 24 hours. For set-in grease stains, consult the <a href="https://imranpartners.com/posts/removing-oil-and-grease-stains-from-nubuck-emergency-guide">emergency guide on removing oil and grease</a> before attempting any chemical treatment.</p> Deep Cleaning with a pH-Balanced Shampoo <h3>Step 1: Preparation</h3><p>Remove laces and insert shoe trees or stuff the shoes tightly with paper. This provides a firm backing and prevents the wet leather from losing its shape.</p><h3>Step 2: Application</h3><p>Apply a <strong>foaming cleanser</strong> to your brush, not the shoe. Dip the brush in lukewarm water, shake off excess, and work in <strong>circular motions</strong> to generate a lather that lifts dirt.</p> <h3>Step 3: The Scrub</h3><p>Scrub uniformly across the entire upper. Do not focus only on one spot, as this will create an uneven finish.</p><h3>Step 4: Rinsing</h3><p>You must remove all soap residue. Wipe the shoes down repeatedly with a clean, damp microfiber cloth until no foam appears. Leftover soap is alkaline and will degrade the leather. This can lead to dry rot or <a href="https://imranpartners.com/posts/mold-on-nubuck-removal-and-prevention">mold on nubuck</a> if stored improperly.</p> Drying Techniques to Prevent Irreversible Damage <p>The drying phase is the most dangerous. Wet collagen fibers will shrink and harden if you apply heat. <strong>Never</strong> place wet nubuck near a radiator, fire, or blow dryer. <strong>Never</strong> leave them in direct sunlight. Heat-shrunk leather is permanently ruined.</p> <p>The only correct method is a slow <strong>air dry</strong> in a cool, ventilated area. Keep the shoe trees in to maintain shape. This can take 24 to 48 hours. When the shoes are damp, you can do a light brushing to begin lifting the nap. Waiting until they are bone dry can make this more difficult. For more on how water affects the hide, see our guide on <a href="https://imranpartners.com/posts/does-nubuck-stretch-sizing-and-break-in-guide">whether nubuck stretches</a>.</p> Restoring the Nap and Protecting the Finish <h3>Restoring the Nap</h3><p>Once dry, the shoes will likely feel stiff. Take your crepe or nylon brush and vigorously brush the surface to break the temporary bonds between dried fibers. This will fluff them back up into their velvet texture.</p><h3>Conditioning and Color</h3><p>Use a spray-on conditioner specifically for nubuck. For faded color, use a renovating spray with pigment, masking off soles first. Read about <a href="https://imranpartners.com/posts/restoring-faded-nubuck-dyeing-and-reviving-color">restoring faded nubuck color</a> before you begin.</p> <h3>Protection</h3><p>The final, critical step is waterproofing. You have stripped the old protection; you must replace it. Use a high-quality spray designed for napped leathers. Apply two light coats. For an analysis of effective products, refer to our guide on <a href="https://imranpartners.com/posts/can-you-waterproof-nubuck-best-sprays-and-techniques">waterproofing nubuck</a>.</p><p>By following this protocol, you extend the life of the tannage. Nubuck is a living material that records its history in scuffs and patinas; your job is to curate that history, not erase it.</p>